A while back I found a wonderful notebook tutorial on-line and pined it to my Pinterest account. It just sat there, and sat there, pinned but going nowhere.... If you have a Pinterest account you have probably done the same thing. There are so many wonderful projects out there and I can't help but pin them all, but who has the time to actually complete them? Well, I finally decided to tackle another one!
My notebook isn't exactly like the tutorial I pinned. I'm the same way with crafts as I am with recipes. I just can't seem to follow them exactly and end up doing them my way.
Materials needed:
Elmers glue, some heavy books (yes, I know I have two the same!) exacto knife, 15 sheets lined paper, two photo's 1/4 the size of an 8.5 x 11 sheet of paper, old paint brush, ruler, paper holder clips, pencil and a piece of construction paper.

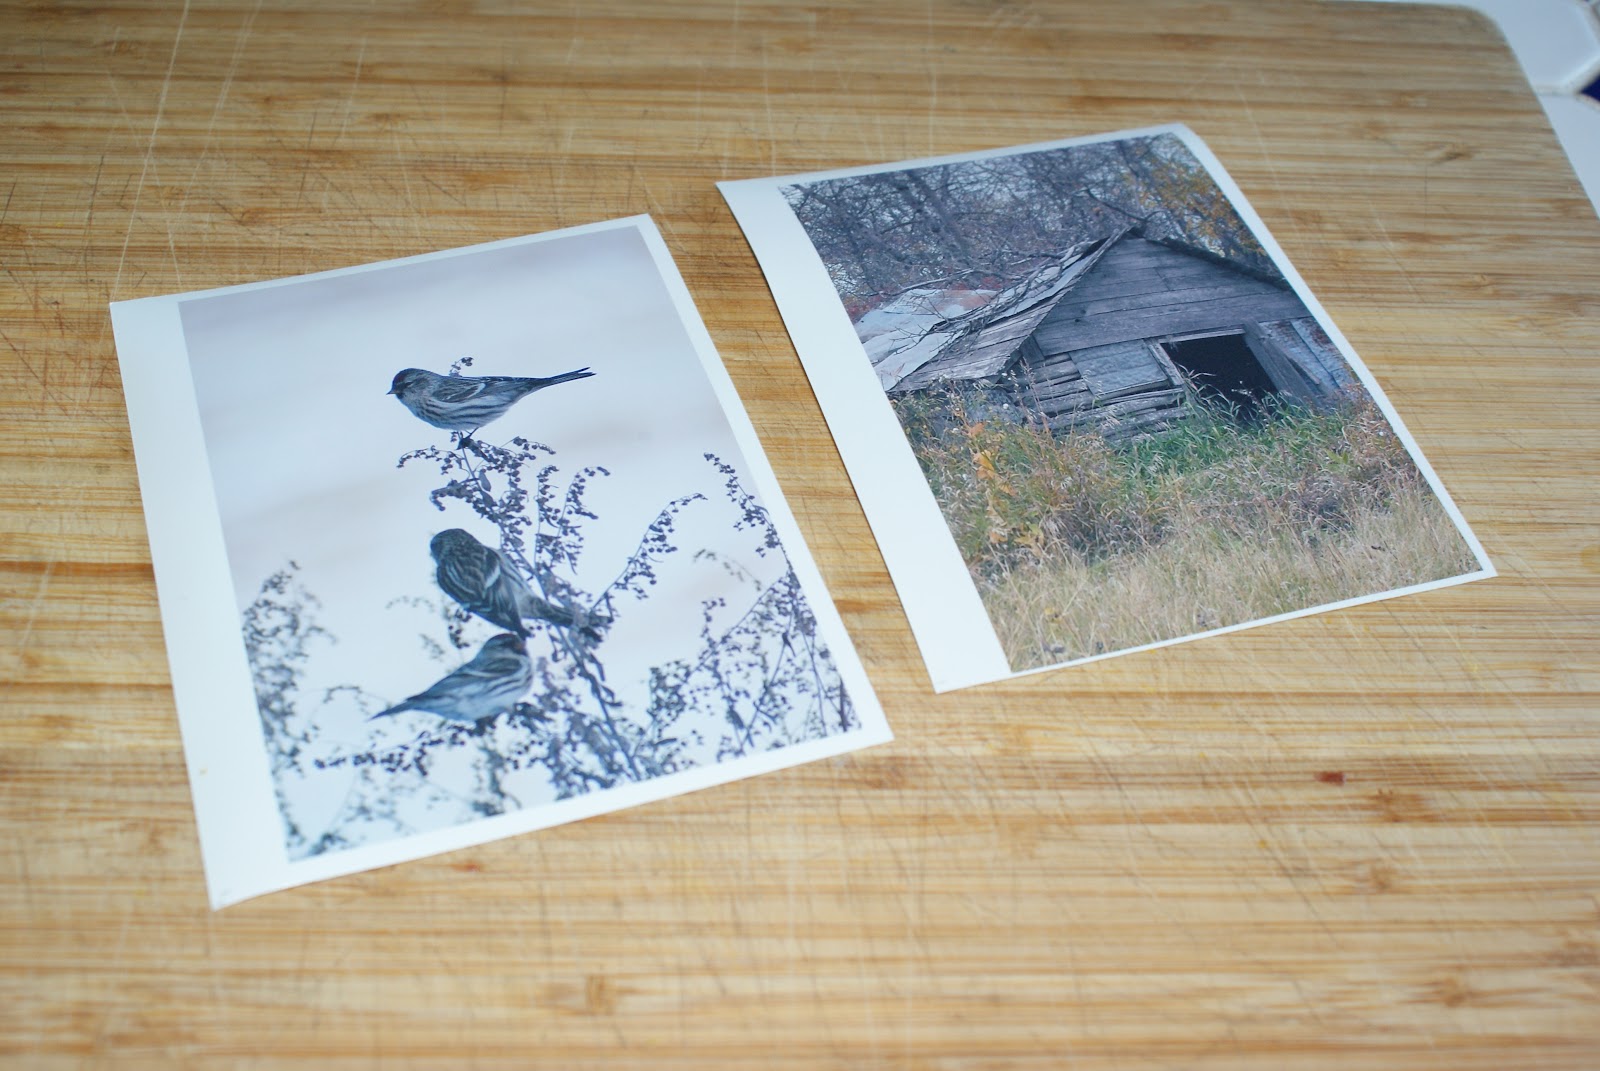
Instead of using scrap paper I decided to use some of my photo's from my blog as the covers and I printed out some lined paper. It wasn't hard. I just went to a word processor and made lines then printed out 15 sheets. Then re-sized the photo's to the size I needed and printed them out.

Line up the paper exactly then using the clips to hold them in place use your ruler and knife to exactly cut them in half. I did them all at once. It just seems to work better that way, as long as they are lined up exactly and you are careful not to let your ruler or knife slip.

Fold each sheet in half and score the folded edge well.

All ready!

Cut your pictures to the correct size using one of the folded papers as a guide to make sure you get it right.
All cut!

Pour some glue onto some foil.

VERY carefully line up the folded papers with the photo's placed top and bottom between the heavy books. This took a bit of practice to get it right. It helps if you use the clips to hold the edges while you place it in between the books. You really want the books to press the papers together well. Then carefully glue the spine. I applied the glue about three times. Allow to sit overnight so it dries very well. I even had to find a bigger book to put on top as I wanted to make sure it was pressed down as much as possible. Make sure you wash your bush off well! You don't want to glue the fibers together or you won't be able to use it again.

Ready to go! Measure out the construction paper so it will cover the spine and up to the photo.

Cut out and ready to finish!

Score the paper by folding it over the spine and running your fingers over the folds. This just makes sure you have the correct size and the folds in the right place before you glue it on. Then cover the paper in a light coating of glue and press onto the book. Allow to dry and you are all done!

The completed project all ready to go! Now that wasn't so hard! I think with a bit of practice I should be able to do them fairly quickly and they will make lovely gifts!
What a great gift idea.
ReplyDeleteWhat a cute idea! Thanks for posting!
ReplyDeleteThis notebook looks really great! I'm sure my wife and kids would love something like that. I feel like some of the notebooks you buy at stores have strange pictures on them. It would be great to get customized pictures to put on the fronts of the notebooks the kids take to school. That way they would be easy to identify if you lost them too. https://www.paperbarn.com/8.5%20x%2011%20Notebook11
ReplyDelete